
DIY Pillow Covers. 3 Easy Methods That Actually Work
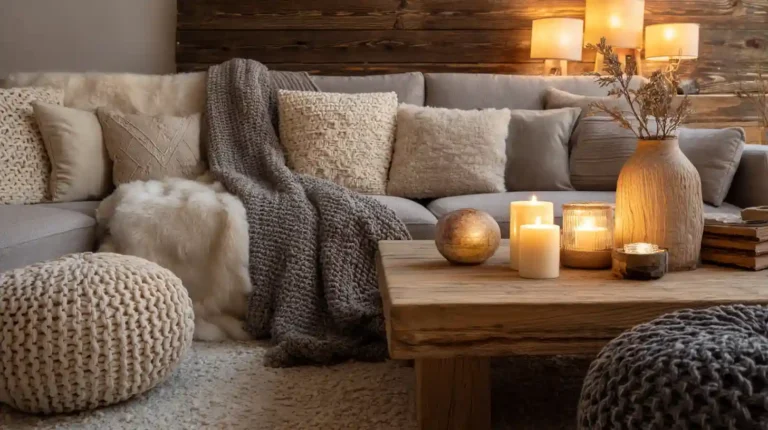
Yesterday, I was looking at my sofa and thinking, This room doesn’t need a full makeover… it just needs a little freshening up.
And honestly? That’s where DIY pillow covers shine.
Throw pillows can change the whole mood of a living room. A soft linen cover can make your sofa feel calm and relaxed. A bold, patterned cover can wake up a neutral chair. A cozy textured fabric can make the room feel warmer without buying new furniture, new rugs, or a cart full of decor.
The best part is that you don’t have to replace the entire pillow every time you want a new look. You can keep the same pillow inserts and simply swap the covers whenever your style changes, the season changes, or you’re just ready for something new.
If you’re a beginner, don’t worry. You don’t need fancy sewing skills to do this. In this guide, we’ll walk through beginner-friendly ways to make DIY pillow covers, including an easy envelope cover, a no-sew option, and a simple zipper method if you’re ready to try something a little more polished.
By the end, you’ll know what fabric to choose, how to measure your pillow inserts, and which method makes the most sense for your home, your budget, and your comfort level.
Pick Your Fabric Before You Pick Your Method
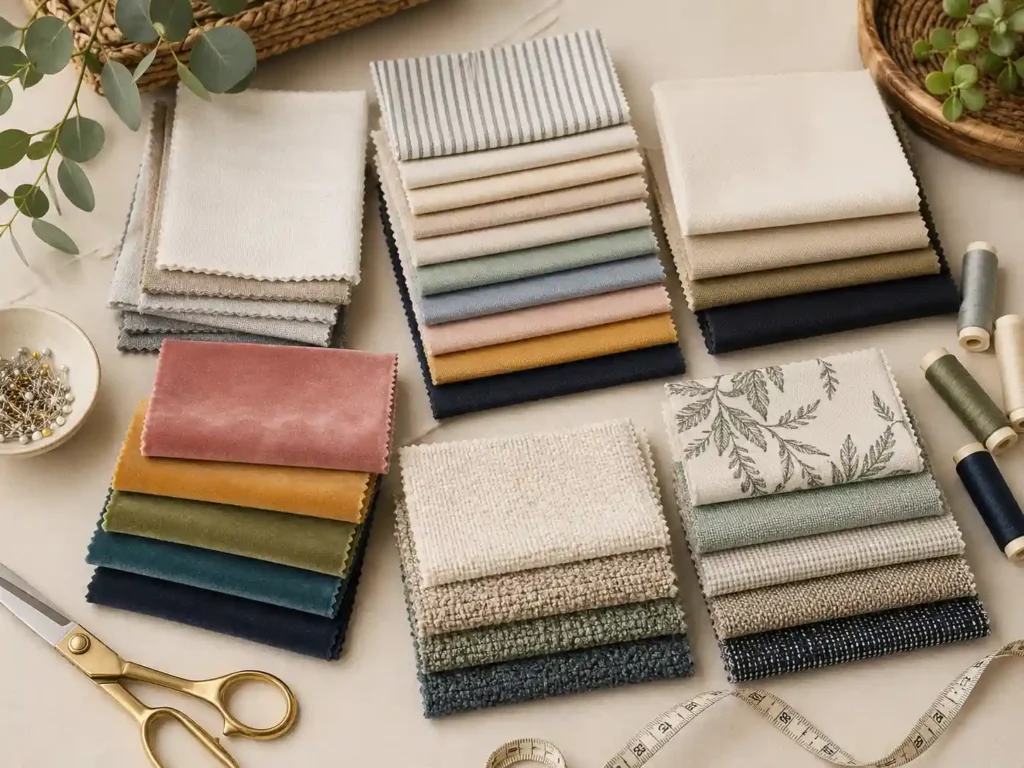
Most pillow tutorials jump straight to cutting and sewing, and they skip the part where your fabric choice can make or break the whole project. I’ve made that mistake. A poorly chosen fabric looks bad, wears fast, and makes you wonder why you bothered.
Cotton is where beginners should start, full stop. It’s forgiving, doesn’t slip around under the sewing machine, and holds a pressed edge beautifully. Regular quilting cotton works fine for pillows that mostly sit there looking pretty. If you have a busy sofa, kids, pets, or people actually sitting on it, go with cotton canvas or cotton duck, which is a heavier, sturdier weave. Both are easy to find and usually affordable.
Linen has that relaxed, lived-in texture that looks effortlessly good in almost any room. The wrinkles are part of the appeal for some people and a constant frustration for others. Know which camp you’re in before you commit. A cotton-linen blend gives you the texture without quite as much wrinkling, and it tends to be easier to sew.
Velvet and heavier upholstery fabrics are stunning but a little more demanding. Velvet shifts under the presser foot if you’re not careful, and it requires some patience. If you’ve made a few basic pillow covers and want to level up, velvet is a good challenge project.
Outdoor fabric, think Sunbrella or similar solution-dyed acrylics, is the right call for porch furniture or anywhere moisture and sun are a factor. It’s also surprisingly good for indoor families with small children, because it resists stains in a way that regular cotton simply doesn’t.
Skip satin, silk, and stretchy knits for your first go. They slip. They stretch. They’re not the problem you need on a project that’s supposed to be satisfying.
One more thing most tutorials forget to tell you: wash your fabric before you cut it. Cotton and linen can shrink significantly in the first wash. If you skip this step and then launder your finished cover, it might not fit your insert anymore. Ask me how I know.
The Sizing Thing Everyone Gets Wrong
There’s a reason some homemade pillow covers look full and gorgeous, and others look a little deflated. It almost always comes down to the relationship between the pillow form (the insert) and the cover.
The rule that actually works: your pillow form should be about 2 inches larger than your finished cover. So if you’re making an 18×18-inch cover, use a 20×20-inch insert. The slight tension from stuffing in a bigger form gives you that plump, hotel-lobby look instead of the flat, sad look.
If you prefer a more relaxed, loose style, which does look intentional in certain interiors, you can use a form the same size as your cover. Just know the difference going in.
Common pillow form sizes are 16×16, 18×18, 20×20, and 24×24 inches for square pillows, and 12×20 or 14×26 inches for lumbar shapes. Polyester fiberfill forms are the most affordable and are machine-washable, though they can go flat over time. Down or feather-down inserts feel more luxurious and hold their shape longer, but they cost more and need more careful handling.
If you have old bed pillows sitting around doing nothing, you can absolutely use those as inserts. Run them through a hot dryer for 30 minutes first to freshen the fill, and you’re good.
Method 1: Envelope Pillow Cover
This is the one most people start with, and it deserves that reputation. No zipper, no complicated steps, just straight stitches and a smart overlapping back panel that lets you slide the insert in and out. You can finish one in 20 to 30 minutes once you know what you’re doing.
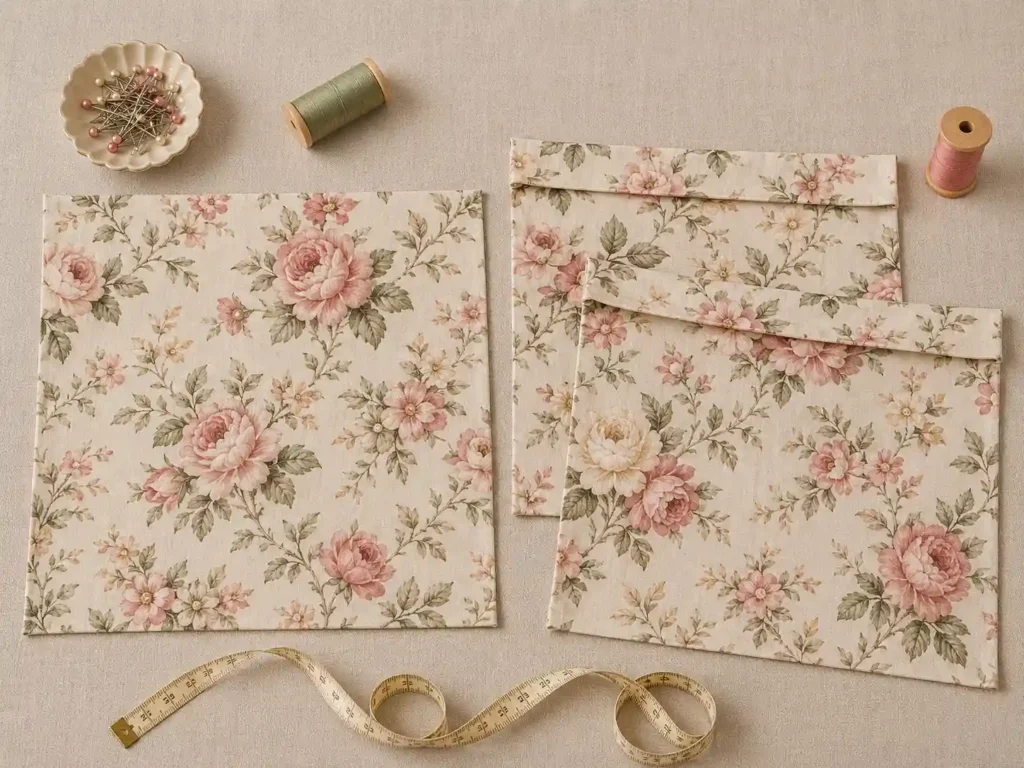
What you need: Sewing machine, fabric, matching thread, scissors or a rotary cutter, pins, iron, and a pillow form.
Cutting for an 18×18-inch pillow form:
- Front panel: 19×19 inches
- Two back panels: 19×13 inches each
That extra inch on the front panel is your seam allowance. The two back panels will overlap each other in the center when you assemble the cover — that overlapping section is the “envelope” that holds the insert inside.
How to put it together:
Start by hemming the long edge of each back panel — that’s the edge that will show at the center back of the finished pillow. Fold the edge under half an inch, press it with an iron, fold it under another half inch, press again, then sew along that inner fold. Clean, finished edge. Do this for both back panels.
Lay your front panel right side up on your work surface. Place one back panel on top, right side facing down, lined up along the left edge. Place the second back panel on top of that, right side facing down, lined up along the right edge. The two hemmed edges overlap each other in the middle. Pin around all four sides.
Sew all the way around with a half-inch seam allowance. Backstitch at the beginning and end. Then trim the corners — snip diagonally across each corner, close to the stitching but not through it. This step seems small, but it’s what gives you crisp square corners instead of rounded blobs when you turn it right side out.
Turn it right side out through the back opening. Use a chopstick to poke the corners out. Press the whole thing with an iron. Slide your pillow form in through the back, and you’re done.
Quick tip: If the pillow insert peeks through the back opening, your overlap is too narrow. Next time, add an extra inch or two to the width of each back panel. You want at least 3 to 4 inches of overlap.
Method 2: Zipper Pillow Cover
The zipper method takes longer and requires a zipper foot attachment for your machine, but the result looks genuinely professional. Clean seams on all four sides, no overlapping flap at the back — just a nearly invisible zipper along one edge. This is how most store-bought covers are made.
Additional things you’ll need: An invisible zipper (at least as long as your pillow is wide), a zipper foot for your sewing machine.
Cutting for an 18×18-inch pillow form: Two squares, both 19×19 inches.
How to put it together:
Before you do anything else, press your invisible zipper flat with an iron. Invisible zippers come with the teeth curled inward on themselves, which makes them hard to sew accurately. A quick press opens those teeth out and makes it much easier to sew close to them for a truly hidden finish.
If your zipper is longer than your pillow is wide, create a thread stop. Sew back and forth across the teeth at the 18-inch mark several times to lock the end, then trim the excess below that point.
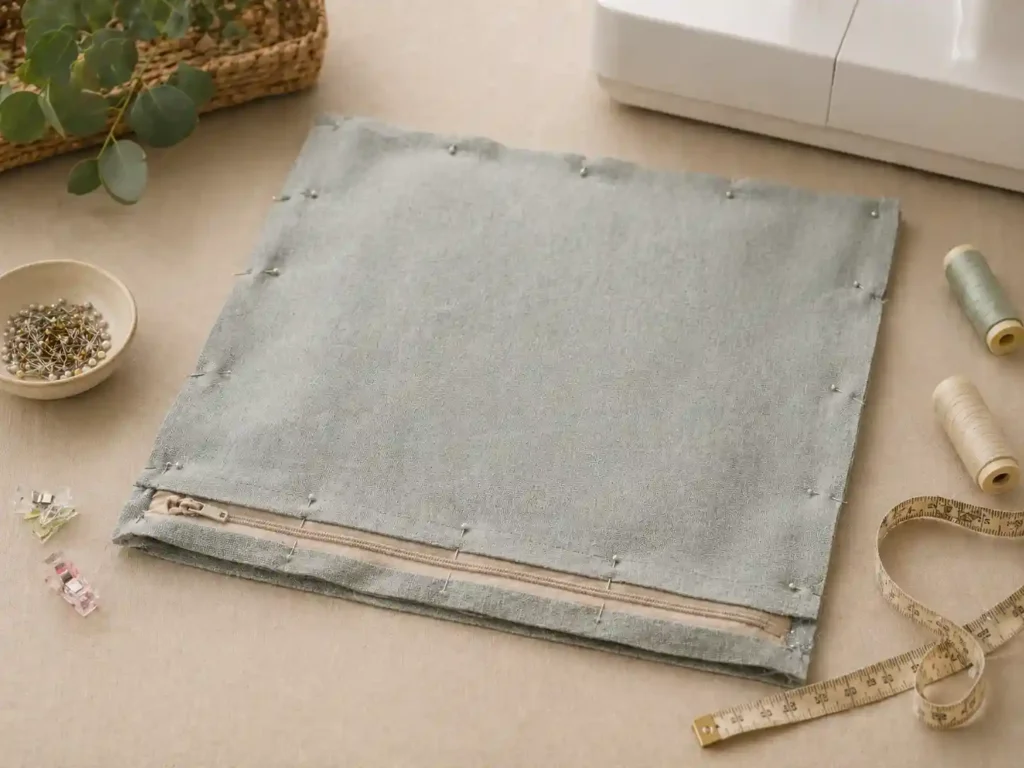
Place the zipper face down along the bottom edge of one fabric square, right sides together, with the zipper teeth aligned along the raw fabric edge. Pin it, then sew along the zipper tape as close to the teeth as you can. Repeat with the second square on the other side of the zipper. When you open both squares out flat, you should have the zipper running between them with the teeth hidden.
Open the zipper at least halfway — if you forget this step and sew the cover closed, you’ll have to rip out a seam to turn it right side out, and it’s as annoying as it sounds. Pin the two squares right sides together around the remaining three edges and sew with a half-inch seam allowance.
Trim the corners, turn right side out through the zipper, press, insert your form, and zip it shut.
One thing that helps: When you’re sewing along the zipper, stop with the needle down when you get close to the zipper pull, lift the foot, scoot the pull out of the way, lower the foot, and keep going. Trying to sew through or over the zipper pull is where most people get the bump and wobble that makes the zipper look sloppy.
Method 3: No-Sew Pillow Cover
If you don’t have a sewing machine and don’t want to hand-sew, you have two real options here.
Iron-on adhesive tape (Heat n’ Bond, Stitch Witch, similar products)
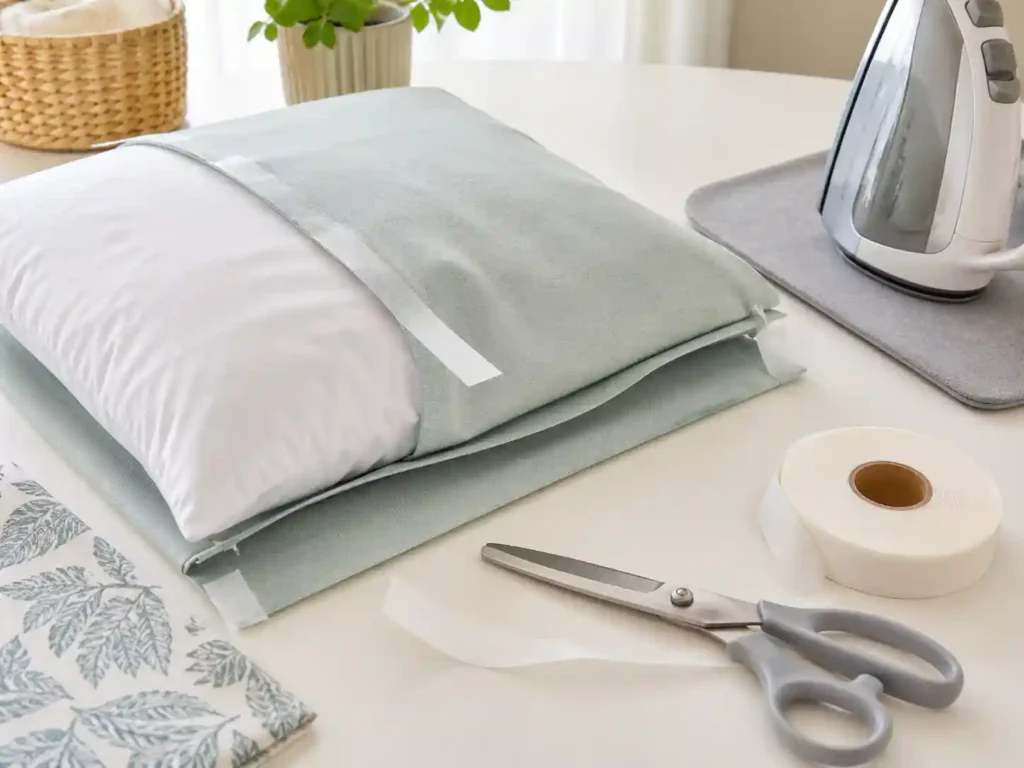
This is iron-on hem tape, and it works better than most people expect for pillow covers. You’re essentially fusing the fabric with the heat instead of the thread.
Cut two squares a bit larger than your pillow form — add an inch per side. Place them right sides together. Run adhesive tape along three edges, about half an inch in from the raw edge. Press with a hot, dry iron (no steam) for about 5 to 8 seconds per section, following the product’s specific instructions. Let it cool completely before you move it.
Turn the cover right side out through the open fourth side. Insert your pillow form, tuck the raw edges of the opening inward, and seal that side with more adhesive tape.
This holds up reasonably well in regular use. It can be machine-washed on a delicate cycle, though the bond does weaken over time with repeated washing. It’s best for decorative pillows that don’t go through the laundry constantly.
Fabric wrapping (truly zero tools needed)
This one requires nothing. Lay a piece of fabric, roughly three times the width of your pillow and two and a half times the height, wrong side up on a flat surface. Set the pillow in the center. Fold the top and bottom up over the pillow, then tuck in the sides, exactly like wrapping a gift. Secure the folds with safety pins on the underside if you need to.
Old curtains, flat-weave scarves, tablecloths, and fabric remnants all work for this. It’s not the most secure method — the fabric can shift with heavy handling — but it’s genuinely useful for seasonal decorating when you want a quick swap without committing to a sewn cover. It’s also great for testing out a fabric or look before you invest the time in sewing.
Which Method Is Actually Right for You
If you have a sewing machine and you’ve never made a pillow cover before, start with the envelope method. It’s fast, forgiving, and the result is totally washable and functional. The only downside is the overlapping back, which is a non-issue in most arrangements.
If you want a result that looks like something you bought, go zipper. It takes more time and a little more patience, but the finished cover looks genuinely polished. Worth doing once you’ve got a couple of envelope covers under your belt.
If you have no sewing machine and need something now, the iron-on method is more durable than you’d think for light use. The wrapping method is better for display pillows than functional ones, but it’s legitimately useful for quick seasonal changes.
Mistakes That Are Easy to Avoid
Skipping the pre-wash. I mentioned this already because it’s the most common mistake and the most annoying to deal with after the fact. Wash the fabric first.
Forgetting seam allowances. If your form is 18 inches and you cut your fabric to 18 inches, your finished cover will measure about 17 inches after sewing. Always add at least an inch total (half an inch per side) for seams.
Not ironing between steps. Pressing your seams, pressing your hems, pressing the finished cover — this is what separates a pillow cover that looks handmade from one that looks intentional. It takes an extra few minutes, and it’s completely worth it.
Using the wrong needle. A standard universal needle is fine for regular cotton. Canvas, outdoor fabric, and denim want a heavier needle. Velvet is happiest with a stretch or microtex needle. Using the wrong needle causes skipped stitches and fabric puckering.
Washing and Storing Your Covers
Cotton and linen covers can be machine-washed on a gentle cycle with cold or warm water. Turn them inside out to protect the face of the fabric. Dry on low, or hang them to dry if you want to minimize shrinkage over time.
For no-sew covers, stick to the delicate cycle and check the bonded edges after washing. Re-press any spots that are starting to lift.
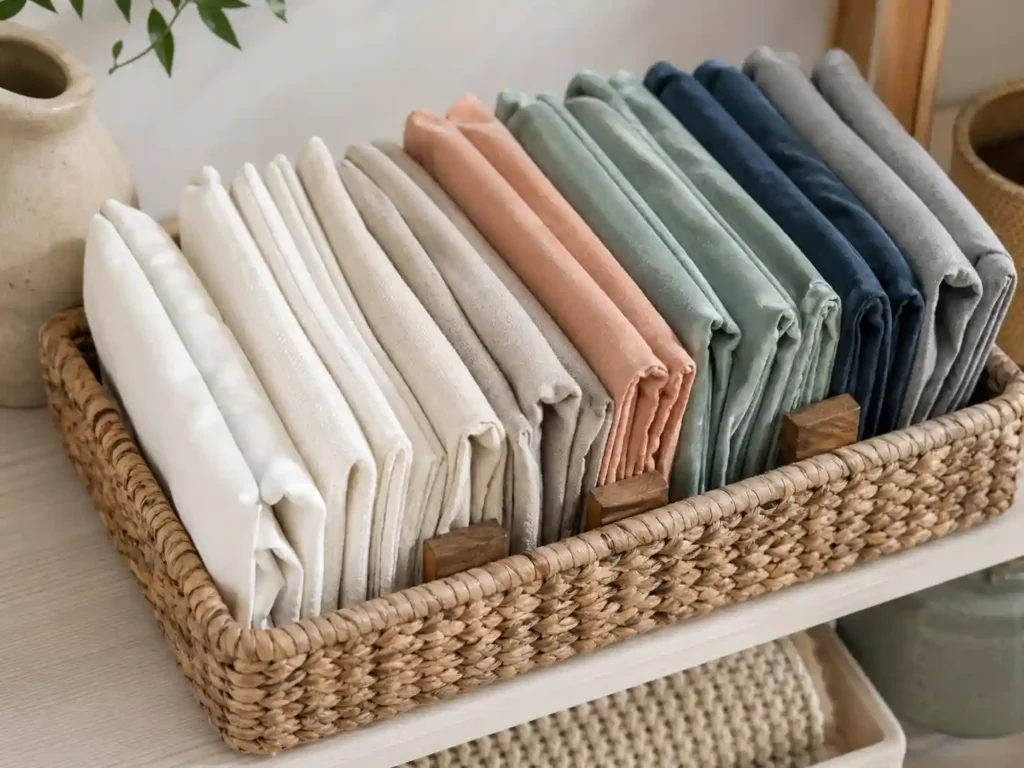
If seasonal rotating is your goal — which is honestly one of the best reasons to make your own covers — store the off-season ones flat in a bin or basket. They take up almost no space. This is the part that really changes how you think about decorating: instead of buying new pillows every time you want a different look, you have a small collection of covers that live in a bin and swap out in five minutes. Your forms stay. Your rooms change.
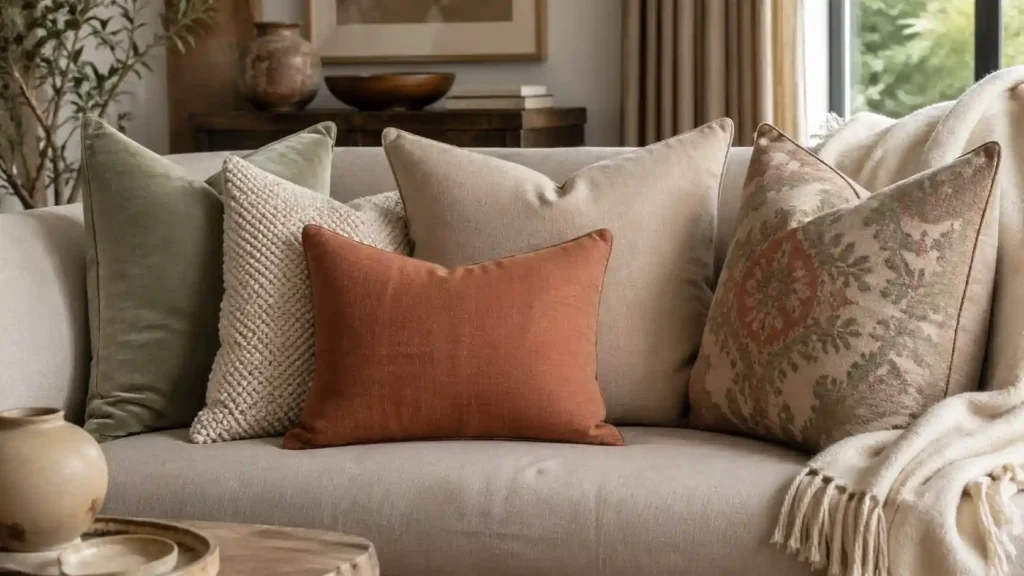
A note on mixing it up: You don’t need to make a matching set to have a cohesive look. Two or three coordinating fabrics in different scales, maybe a print, a simple stripe, and a solid, tend to look more intentional than a perfectly matched set. Odd numbers of pillows look more natural than even numbers on most sofas. And varying your sizes, a couple of large ones at the back, smaller ones in front, a lumbar in the center, adds the kind of depth that’s hard to achieve when you’re buying everything as a single matched set.
That’s the whole point of making your own, honestly. You can get exactly the combination you want, in exactly the sizes you need, for a fraction of what it would cost to buy it.