best green kitchen cabinets designs to boost home value
It was one of those rainy Saturday mornings, the kind where you think, Maybe today’s the day I finally deal with these sad, chipped cabinets. My toddler was elbow-deep in a box of Goldfish, my husband was halfway through unclogging the sink (don’t ask), and I found myself holding a paint swatch called Dill Pickle.
I didn’t mean to fall for green kitchen cabinets. Honestly, I was just curious. But something about that rich, earthy tone made my whole kitchen feel… cozy. Alive. Like it belonged to someone who drinks fancy tea (I don’t) and bakes sourdough on Sundays (I definitely don’t).
Of course, the first time I painted a cabinet door, I forgot to prime it. The paint peeled the next morning like an old sticker. My husband just raised an eyebrow (he knows better than to comment anymore). But lesson learned.
If you’re considering green for your kitchen, whether sage, emerald, or something you’ve never heard of, I’ve got you. I’ll walk you through what I wish I’d known before starting, from choosing the right shade to avoiding the rookie mistakes that nearly made me cry in the pantry.
Let’s get into it
Green kitchen cabinets are a stylish and practical choice in 2025, offering warmth, personality, and versatility for almost any kitchen style. Popular shades like sage, emerald, and olive pair beautifully with white quartz or butcher block countertops. They’re also budget-friendly for DIYers, most cabinet painting projects cost under $200, using quality primer and satin paint
🌿 Why Choose Green Kitchen Cabinets? (More Human, Less Polished)
So here’s the thing: I didn’t grow up dreaming of green cabinets. In fact, if you’d asked me five years ago, I would’ve said green belongs in salad bowls and not much else.
But then one day, some random Thursday while I was procrastinating on actual housework, I stumbled across a photo of this moody sage green kitchen. It had wood floors, brass handles, a giant leafy plant in the corner… and something about it just clicked. It felt calm and alive at the same time. (Like if your kitchen could do yoga and also bake cookies.)
At first, I worried it would be too much. Too bold. Too trendy. Too “Pinterest decided this for me.” But once I tried it—okay, once I messed it up the first time, fixed it, and tried again, it totally changed the room. The cabinets went from “builder-grade beige blah” to actual personality.
Real Talk, Green is weirdly forgiving
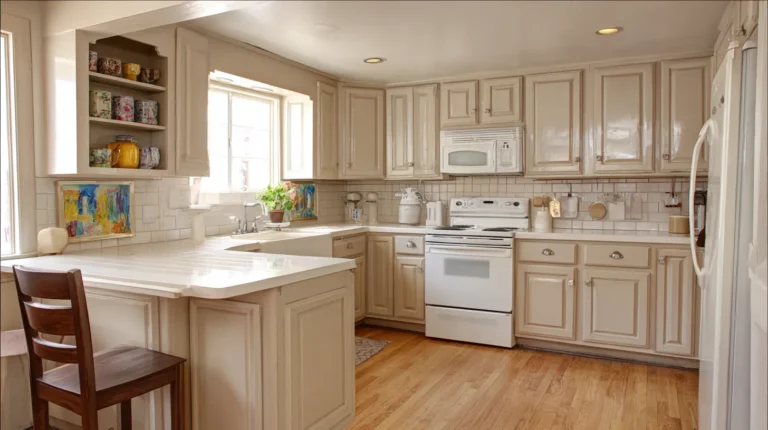
The thing no one tells you? Green hides crumbs. Fingerprints. Weird smudges that mysteriously appear overnight, I blame my toddler, but honestly, who knows? And it makes old kitchen bones, those dinged-up drawers and slightly crooked doors, look charming instead of sad.
Green also plays surprisingly well with others
-
Brass or black hardware? Yes.
-
Butcher block counters? Gorgeous.
-
That weird cream tile you inherited from the previous owner? Somehow it works.
Basically, green is that friend who shows up in jeans and still looks pulled together while you’re frantically trying to find matching socks
Choosing the Best Shade for Your Kitchen
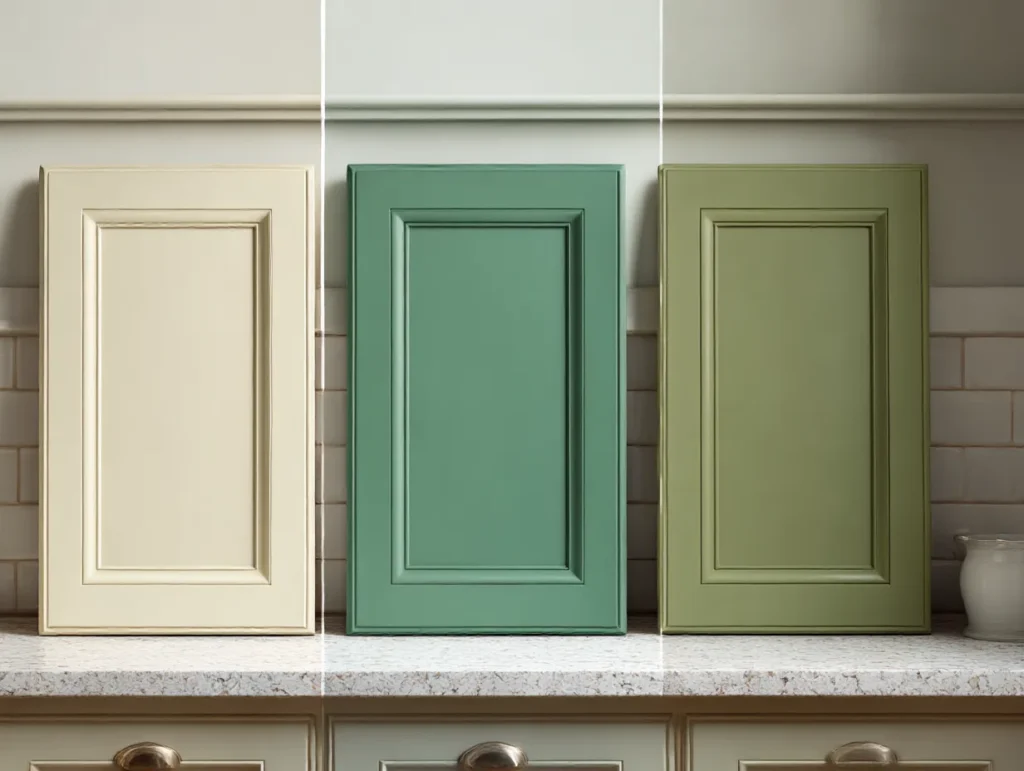
This part nearly broke me. I spent way too many afternoons with paint swatches taped to every cabinet door, shifting them around like it was a puzzle only Martha Stewart could solve. And just when I thought I’d found “the one,” the light would change, and suddenly it looked like split pea soup.
Here’s what I learned (the hard way): lighting, flooring, and even your countertops change how green shows up. So don’t pick your paint at 9 PM under your kitchen’s flickering fluorescent. Ask me how I know.
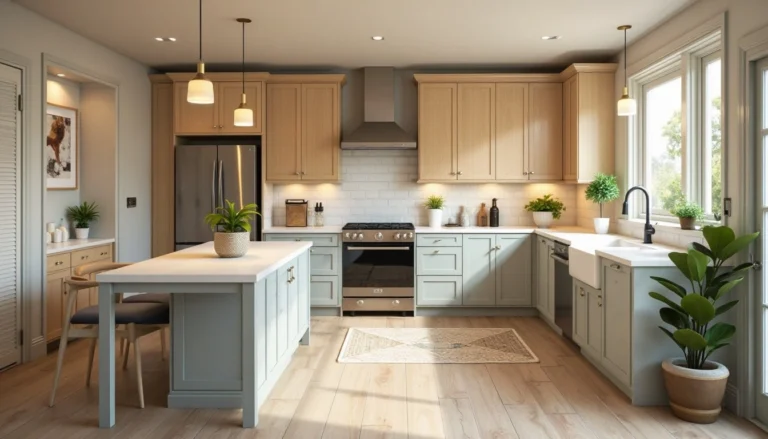
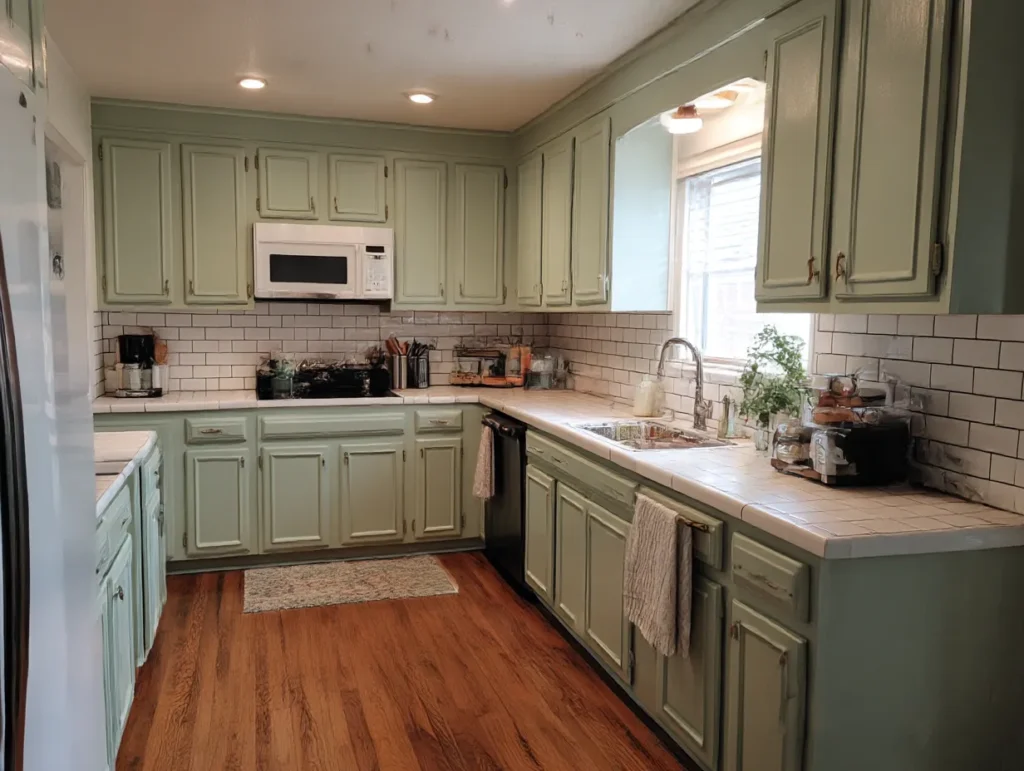
Sage Green: The Safe Bet
Soft, subtle, and almost impossible to mess up. Sage green is what I chose after my dill pickle disaster. It’s light enough to work in small kitchens but still gives you that earthy, cozy vibe.
Try:
-
Sherwin-Williams Clary Sage
-
Benjamin Moore Saybrook Sage
($45–$60/gallon, depending on store sales)
Looks amazing with: wood floors, white tile, and matte black handles.
Forest & Emerald: Drama, Darling
If you want bold and moody and maybe a little dramatic, emerald or forest green is your girl. Perfect for larger kitchens or just lower cabinets if you’re afraid of going full Wizard of Oz.
Try:
-
Behr Northwoods
-
Farrow & Ball Studio Green (pricey, but oof, so pretty)
Caution: You’ll need good lighting, or it can feel a little like a cave.
Dill, Pistachio, and Hidden Gems
Okay, hear me out: the offbeat shades are having a moment. Dill Green, Olive Grove, or Behr’s 2026 Color of the Year, Hidden Gem, can make your kitchen feel playful, modern, even a little whimsical (in a good way, not a circus way).
Try:
-
Behr Hidden Gem is currently $42.98 at Home Depot
-
Valspar Spring Squash, weird name, cute color
Pro tip: Sample first. What looked dreamy at 10 AM made my walls look jaundiced by 4 PM
How Much Does It Cost? Budget Breakdown
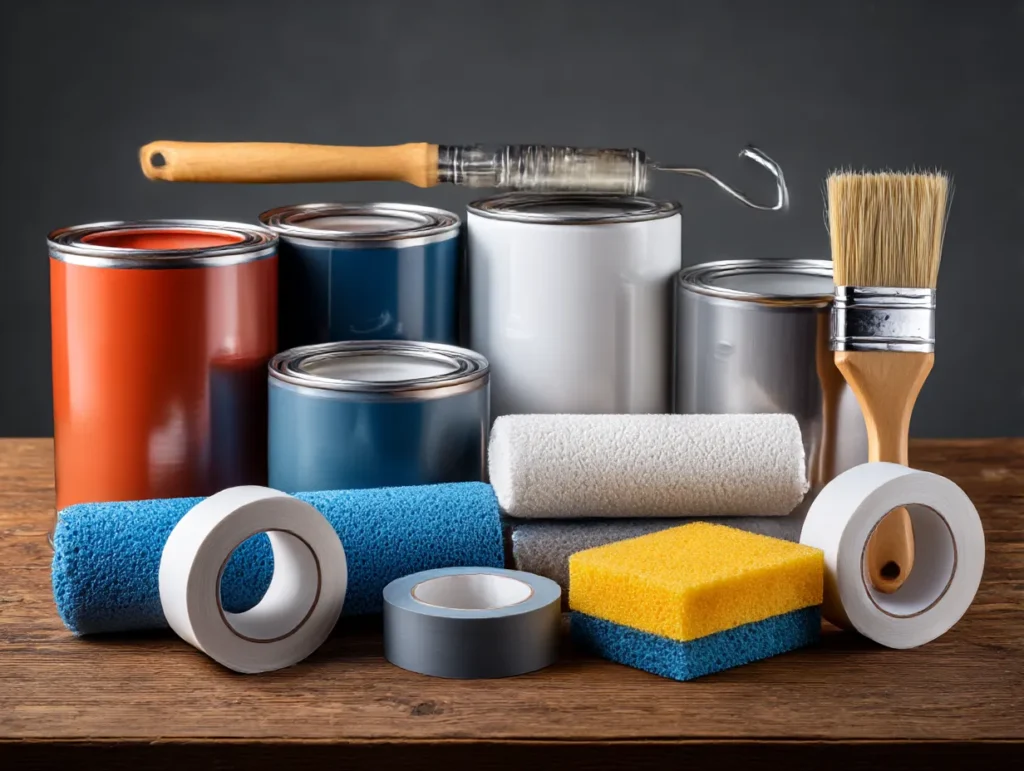
Let me be real: I started this project thinking, “It’s just paint! How expensive could it be?” Cue me, three Home Depot trips later, standing in the aisle clutching a $19 roller and a $12 angled brush like, Wait… why is my cart already at $187?
If you’re wondering how much this whole green cabinet makeover might run you, here’s what I spent, and what you can expect depending on how deep you go.
DIY Green Cabinet Painting, My Route
This was my budget version, and it still added up fast. I painted about 20 cabinet doors and drawer fronts.
Here’s my honest cost breakdown:
-
Paint (1 gallon) – $48 (Behr “Hidden Gem,” eggshell finish)
-
Primer (1 gallon) – $35
-
Angled brush + foam rollers – $22
-
TSP cleaner & sanding sponge – $16
-
Painter’s tape + drop cloths – $20
-
Total: around $140–$160
Bonus tip: If you already own half this stuff (or can borrow from a friend), you could get this under $100.
Want to Reface Instead?
If your cabinets are structurally sound but just… ugly, refacing can be a middle-ground option. New doors, fresh hardware, maybe a slap of crown molding.
-
DIY refacing kits start at around $1,200 for an average-size kitchen
-
Pro refacing service: $4,000–$8,000
(Yeah, my stomach flipped too.)
Full Cabinet Replacement
This is the big one. Custom green cabinets? Gorgeous, but pricey.
-
Stock cabinets (Home Depot/IKEA): $3,500–$6,000
-
Custom cabinetry: $10,000–$20,000+
So if you’re like me and looking for the most impact with the least pain to your wallet (and marriage), paint is the way to go
Step-by-Step DIY Painting Guide A.K.A. Learn from My Mistakes
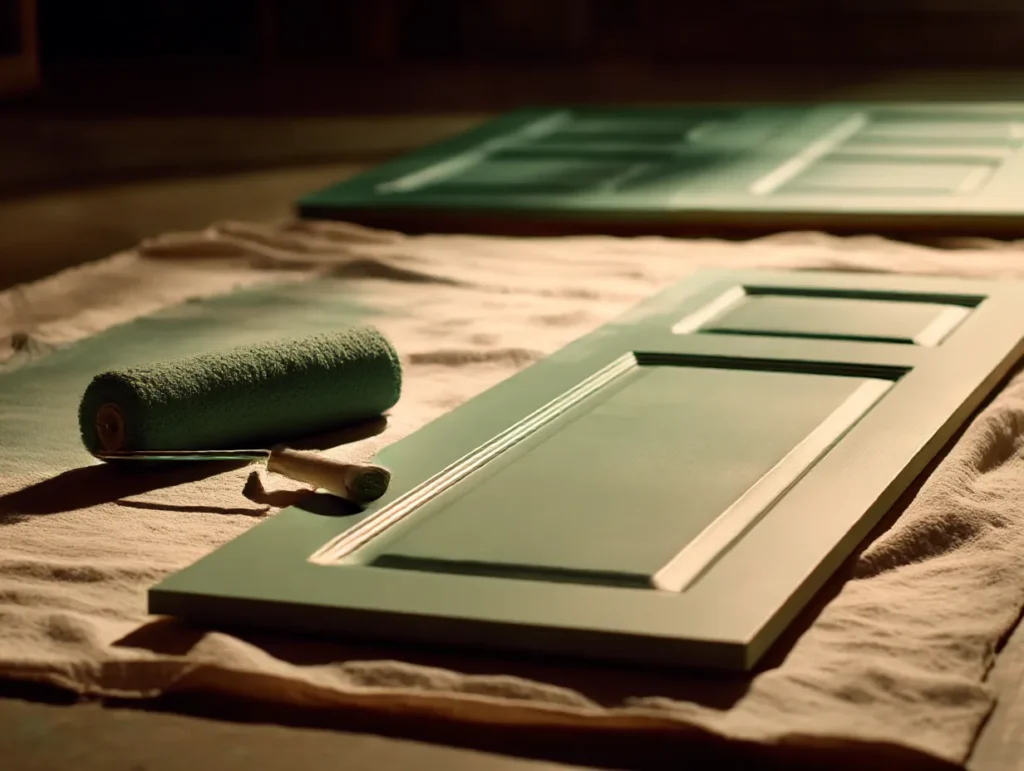
I thought I could knock this out in a weekend. Spoiler: I was still painting by Wednesday. Not because it’s hard, but because it’s the kind of project that snowballs. You open one drawer, see the crumbs, and suddenly you’re deep-cleaning the spice rack from 2007.
Anyway, here’s what worked for me.
1. Empty the Cabinets No, Really Empty Them
Take out everything. You’ll be amazed at what you find behind the soup cans. I discovered three sippy cup lids and a box of expired taco shells.
2. Remove the Doors & Label Them
This part matters. I didn’t label the doors the first time and ended up with a very annoying puzzle later. Use painter’s tape on the inside edges: “Top Left 1,” “Bottom Right 3,” etc.
3. Clean Like You Mean It
Use TSP cleaner (about $7–$9) or a degreaser. Kitchen cabinets are gross. Even if they look clean, they’re probably coated in invisible bacon mist from 2019.
4. Sand Just Enough
I used a sanding sponge and lightly scuffed every surface. You don’t need to go down to raw wood, just enough to help the primer grip.
My first try? I skipped sanding and watched the paint peel within a week. 0/10, do not recommend.
5. Prime Time
I used Zinsser Bulls Eye 1-2-3 Primer ($25–$35), which dries fast and works on glossy surfaces.
Let it dry overnight if you can. Yes, overnight. Don’t be me and paint while it’s still tacky because you’re impatient.
6. Paint: Thin Coats Are Your Friend
Roll the flat areas, brush the corners. Two thin coats are better than one goopy one. I used a foam roller ($6) for a smooth finish and a 2” angled brush ($8) for edges.
7. Let it dry. Like, Fully.
I waited 24 hours before reattaching. The paint may feel dry to the touch in 2 hours, but underneath? Still mushy. If you rush this, the cabinet doors will stick and peel. (Ask me how I know.)
8. Reattach & Bask in Your Brilliance
Put the doors back in the right spots (see: why labeling matters). Step back. Bask. Instagram it. Then, spend the next week gently reminding your family to please use the knobs
Keeping Them Looking New a.k.a. The Battle Against Fingerprints
You know that feeling when you finish a project and you just stare at it like it’s a newborn baby? That was me and my freshly painted sage green cabinets. For about 48 hours.
Then my toddler leaned against one. With peanut butter hands.
So let’s talk real-life maintenance. Because unless you live in a staged HGTV set, things are gonna get messy. But the good news? Green is forgiving, especially if you pick the right finish and do a little upkeep here and there.
Choose the Right Paint Finish
Here’s what I learned (after a regrettable matte paint moment):
-
Matte = pretty but shows every smudge and grease streak.
-
Satin = chef’s kiss balance between soft look and wipeability.
-
Semi-gloss = durable and kid-proof, but a bit shiny for some styles.
I went with satin and haven’t looked back. It handles spaghetti sauce splashes and mystery stickiness like a champ.
Weekly Wipe-Down No, You Don’t Have to Deep Clean
Once a week (okay… every other week if I’m honest), I wipe down the high-traffic spots, lower drawers, and around the handles, with a soft rag and diluted dish soap. Nothing fancy.
Avoid:
-
Harsh scrubbers (they can scratch)
-
Bleach (no thanks)
-
Anything labeled “degreaser” unless diluted
Touch-Up Kit = Your New Best Friend
I saved a tiny jar of leftover paint in a baby food container highly recommend for those inevitable chips or dings. I’ve already done three mini touch-ups, and it still looks fresh.
Bonus: I keep a foam brush tucked behind the microwave for this exact purpose.
What About Kids and Pets?
Real talk: green cabinets are so much better than white when it comes to hiding little handprints and paw smudges. But I still added soft-close hinges (Amazon, $2.50 each) to stop the doors from slamming into each other. Worth every penny
Design Pairings & Hardware That Work with Green
I used to think hardware didn’t matter. I was wrong. I spent more time picking handles than I did naming my second child (okay, maybe not more, but close). When your cabinets go green, your hardware and countertops step into the spotlight, and the wrong combo can feel off fast.
Here’s what worked for me, and what I saw at my neighbor Linda’s house that totally sold me on brass.
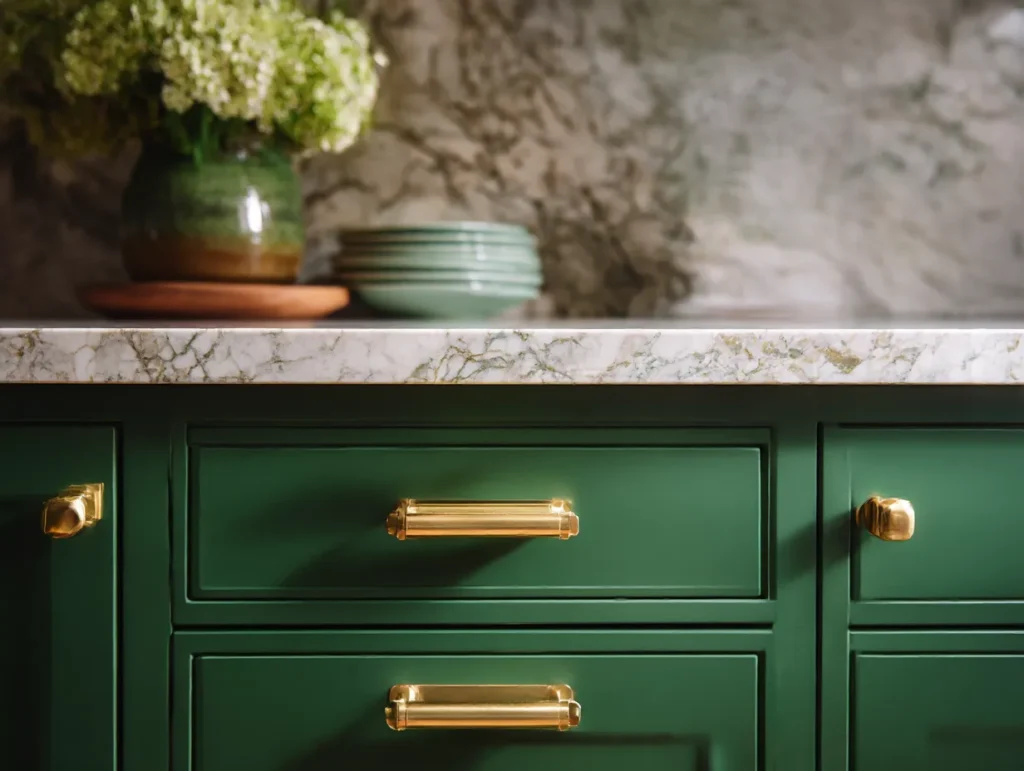
Hardware: Tiny Details, Big Vibes
Brass or Gold
Warm, rich, and timeless. Looks amazing with sage or olive green.
-
I used these brushed brass pulls from Amazon, $26 for a pack of 10. Total steal.
Matte Black
Bold, modern, and doesn’t show fingerprints. Great for darker greens like emerald or forest.
-
My friend Jessica went matte black on a deep dill green and it’s stunning.
Oil-Rubbed Bronze or Copper
If you’ve got wood accents or rustic vibes, this combo adds charm and depth.
Pro tip: Order a few sample handles before committing. I ordered four different styles… then ended up using the very first one. Figures.
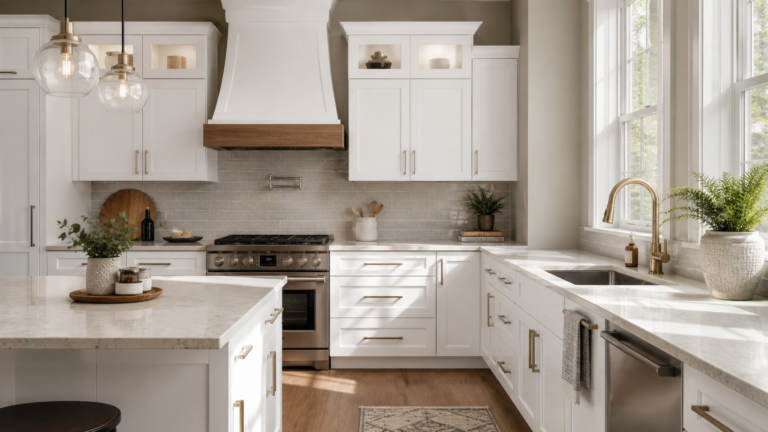
Countertops & Backsplash: Keep it Balanced
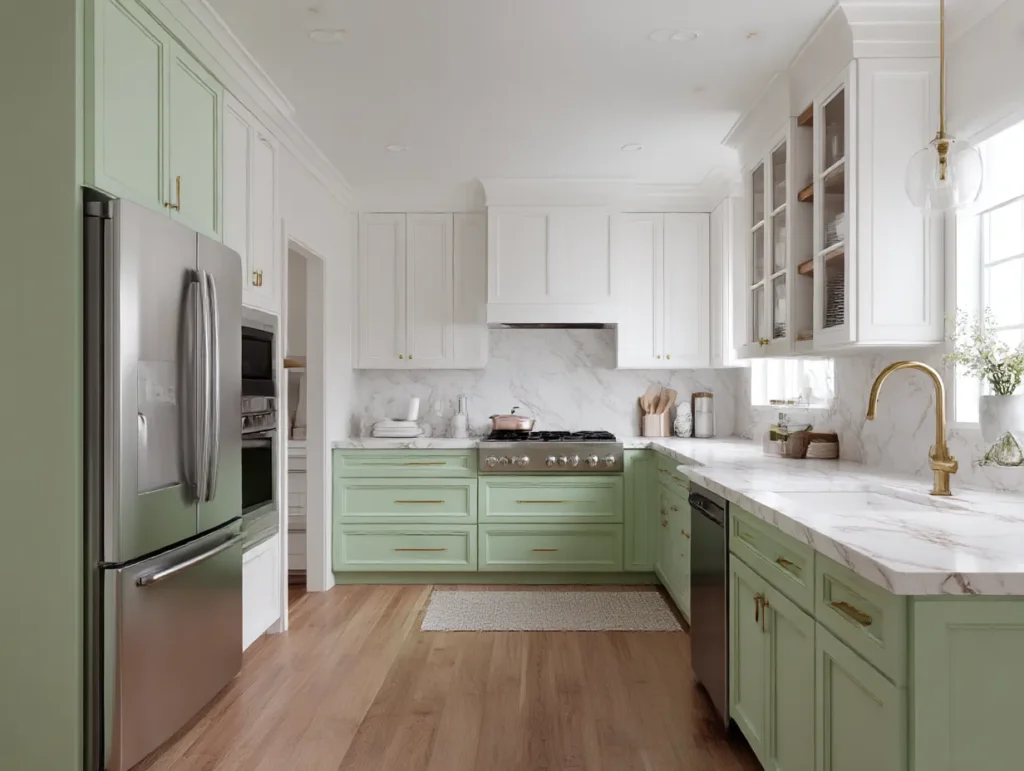
White Quartz or Marble Lookalikes
Brightens the space and gives you contrast. Perfect if your kitchen doesn’t get much light.
Butcher Block
Adds warmth and texture. I priced this out at Home Depot—around $250 per slab—and it’s on my wish list for next year’s budget.
Black Soapstone or Concrete
For a moody, modern look. Works best with bold green shades.
Backsplash Ideas
-
White subway tile: classic, cheap, and clean
-
Zellige or handmade tile: adds texture
-
No backsplash + painted wall: budget hack alert! I did this behind our coffee bar, and it still looks great.
Two-Tone Tip
Green lowers + white uppers = chef’s kiss. Especially if your kitchen’s on the smaller side. I almost did all green but chickened out, and I’m glad I did. The two-tone look keeps it light but still gives the color a punch
Mistakes to Avoid So You Don’t Cry on Your Kitchen Floor
I wish I could say this project went smoothly. But let’s just say… it was educational. If you’re about to dive into green kitchen cabinet territory, here’s what I wish someone had taped to my forehead before I started.
Mistake #1: Not Labeling the Cabinet Doors
I know, I know, I mentioned this before. But seriously, label your doors.
I thought I’d “remember where they go.” I didn’t. The hinges didn’t line up, the handles were slightly off, and I spent a full hour trying to figure out where “mystery door #7” belonged. Not my finest hour.
Mistake #2, Skipping Primer
If you’re painting over laminate or glossy wood? You need primer. Otherwise, the paint will bubble, peel, or just sit there looking confused.
My first coat peeled off in sheets. I cried. Then I sanded. Then I learned.
Mistake #3: Painting in the Wrong Light
I painted the island in the afternoon sun and thought, Wow, this green is perfect!
By evening, under my warm kitchen lights, it looked like a pickle in a bad mood. Always check your shade in multiple lighting conditions. Seriously.
Mistake #4: Rushing the Dry Time
Paint dries on the surface way before it’s cured underneath. I re-hung the doors too early, and they stuck to the frames like two toddlers with popsicles. Took me weeks to fix.
Mistake #5: Underestimating the Time
I told my husband it would take “one weekend.”
It took me five days, two late-night Amazon orders, and one emergency text to my mom. Plan for extra time. You’ll thank yourself late
FAQs About Green Kitchen Cabinets
Are green kitchen cabinets a good idea?
If you want something that feels cozy, fresh, and not straight out of a builder-grade catalog, yes. Green adds warmth without being loud, and it works surprisingly well in both modern and older kitchens. (Plus, it hides toddler fingerprints like a champ.)
What shade of green is best for kitchen cabinets?
That depends on your vibe! Sage is timeless and safe. Emerald is bold and dramatic. And trendy shades like Behr’s Hidden Gem or Olive Grove bring personality without feeling too “out there.” Always sample a few; lighting changes everything.
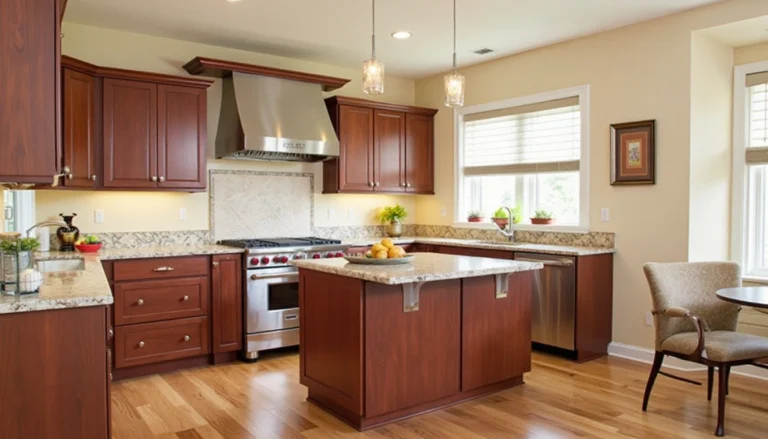
What kitchen cabinet color is outdated?
Do you remember those orange oak cabinets from the late 1990s? Yeah. Also, super high-gloss cherry red or pure black can date a kitchen fast unless styled really intentionally. Green, especially muted or earthy tones, tends to age better.
Are green cabinets in style in 2025?
Yes, and not just in magazines. Homeowners are leaning into color that feels grounding and natural. Think soft olives, muted sages, and rich forest greens. They’re cozy, stylish, and still feel personal.
What color countertop goes best with green cabinets?
You’ve got options! White quartz or marble-look counters keep things light. Butcher block adds warmth. Black soapstone gives you that moody contrast. It depends on the shade of green and the overall feel you want.
What is the hottest color for kitchen cabinets?
As of 2025, it’s a toss-up between earthy greens, warm taupe, and greige (yep, still going strong). But green is having a major moment, especially in two-tone combos with white upper
💚 Final Thoughts: One Cabinet at a Time Rewritten
Green cabinets weren’t part of some grand design plan. For me, it started with a single swatch and a need to make our tired kitchen feel like us. And somewhere between sanding that first door and peeling paint off my elbow, it did.
Not perfectly. Not without swear words. But it became ours.
If you’re hovering over the idea, wondering if green is too much, or too trendy, or just not you, I get it. I had the same doubts. But every time I walk into our kitchen and catch the morning light bouncing off that soft sage finish, I feel a little more at home.
You don’t have to do it all at once. Try a drawer. Or just the island. Take your time. One cabinet at a time.
And hey, if you want a little help getting started, I put together a free Paint Planning Checklist you can download [here]. It’s got room for your swatch experiments, lighting notes, and that wild hardware you’ve been eyeing.
Let me know if you give it a try, I’d love to see how your green turns out
Useful Resources
- Browse ready-made kitchen cabinets green on Amazon
- Compare kitchen cabinets in green styles on Lowe’s